Drawing Groups
What are drawing groups?
Drawing groups improve the convenience of creating systems in PLC-Lab. These are predestined for the following tasks and more:
- Zooming in and out of several objects at the same time, while maintaining the relations to the other objects.
- Combining a group of objects to move and copy them together.
- Combining multiple objects to rotate them together. The point of rotation is in the center of the drawing group.
You can find the section "drawing group" in the action list of PLC-Lab. In this section actions are listed which are required for drawing groups. This includes, for example, creating a drawing group, dissolving a drawing group and separating individual objects from such a group.
Creating a drawing group
The following steps are necessary to create a drawing group:
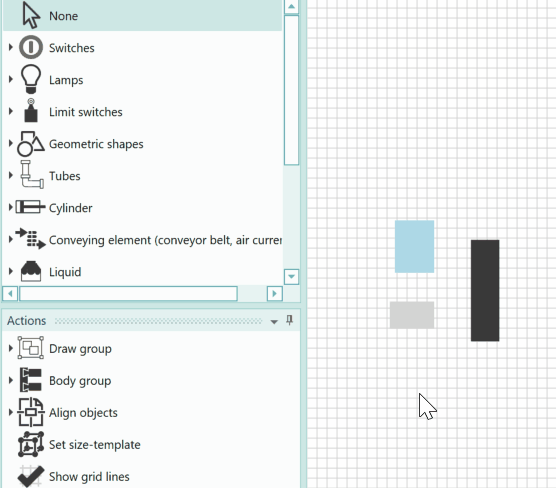
- Select the objects that you want to combine in a drawing group.
- Execute the action "Group to drawing group" in the section "drawing group".
These steps are carried out in the example.
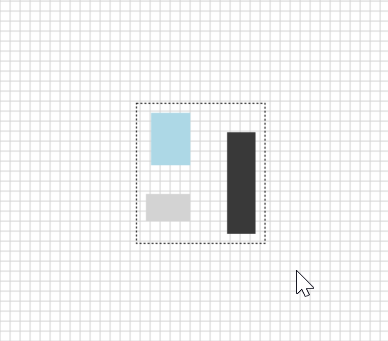
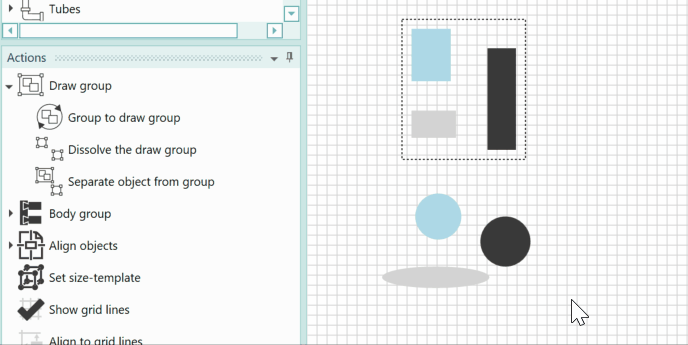
Appearance of a drawing group
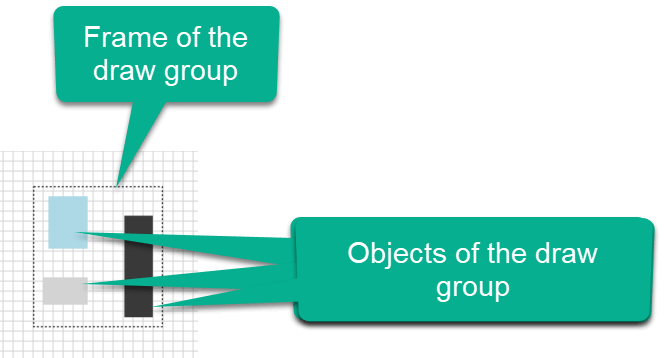
When objects are organized in a draw-group, they are surrounded by a rectangular frame that symbolizes the drawing group.
Managing a drawing group
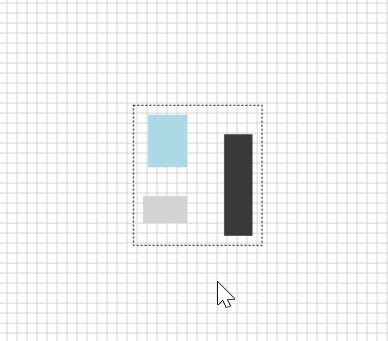
Selecting the drawing group
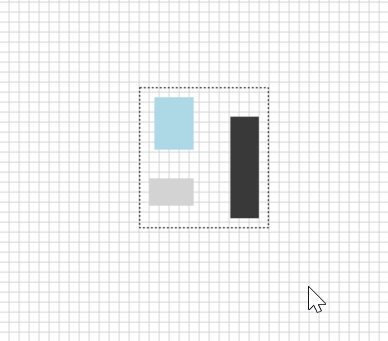
To select a drawing group, click on one of the objects of the group in the non-selected state.
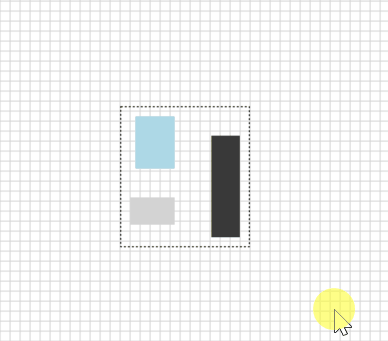
This causes the selection thumbs to appear at the corner points of the group.
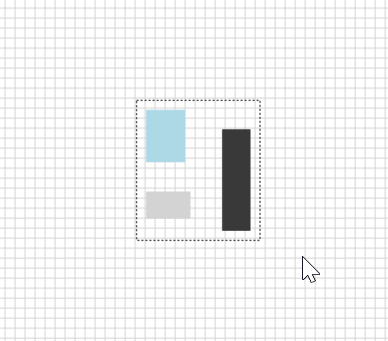
Moving the drawing group
When the drawing group is selected, you can move it. To do this, click on an area in the group in which an object is located.
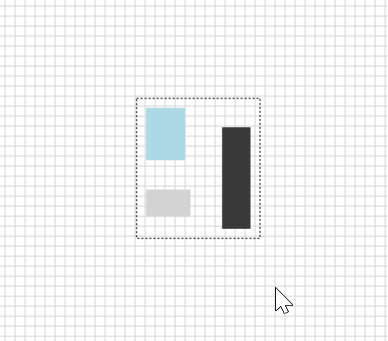
Selecting an object in a drawing group
To select an object in a drawing group, first select the group. Next, you can select the target object by clicking on it.
The example shows that the group is selected first, then the red rectangle is clicked on when the group is selected. This also causes the selection thumbs to appear on the selected rectangle.
Moving an object in a drawing group
When an object is selected in a drawing group and the selection thumbs are visible, you can move it with the mouse or keyboard.
When you move the object, the dimensions of the drawing group also change at the same time.
Rotating a drawing group
To switch a drawing group to rotation mode, double-click an object of the drawing group while the drawing group is not selected. Then the thumbs indicate that the drawing group can be rotated. As with normal objects, you can also rotate in 15° steps by pressing the Shift key while rotating.

You can see that all elements of the drawing group rotate with the rotation point in the center of the drawing group. If you click on a free area of the drawing board after the rotation process, you deselect the drawing group and exit rotation mode.
Rotating an object in a drawing group
When the drawing group is selected, you can activate the rotation mode of an object by double-clicking on the object in the drawing group. This is then signaled by the thumbs on the object. Now you can rotate the object with the mouse. When you press the Shift key, the rotation takes place in 15° steps.
You can also rotate several objects at the same time in a similar way. To do this, select the objects you want to rotate (hold down the Shift key while clicking), then double-click on one of the selected objects. All selected objects then switch to rotation mode.
Dissolving a drawing group
If you want to dissolve a drawing group, proceed as follows:
- Select a drawing group.
- Choose the action "Dissolve the drawing group" in the section "drawing group" of the action list.
This dissolves the drawing group and removes the frame of the drawing group.
If there were objects in the drawing group that were already in their own drawing group when the drawing group was created, these groups are now visible again.
In the following example, a drawing group is dissolved. The rectangle objects and ellipse objects were already organized in a separate group before the drawing group was created. These groups are now restored when the parent drawing group is dissolved.

Separating object(s) from a drawing group
To separate individual objects from a drawing group, proceed as follows:
- Select the drawing group.
- Select the object in the drawing group.
- Choose the action "Separate object from group" in the section "drawing group" of the action list.
The object is then no longer part of the drawing group. You can also use this action with several objects at the same time.
Adding object(s) to a drawing group
If you want to add objects to an existing drawing group, proceed as follows:
- Select the objects that you want to add to the drawing group.
- Select the drawing group.
- Choose the action "Group to drawing group" in the section "drawing group" of the action list.
Copying object(s) to a drawing group
When you use the mouse to copy the objects in a drawing group (see also: Copy with mouse), the new object is also an element of the drawing group. This also applies when copying several objects.
When you copy an object using the clipboard (../copy & paste), i.e. with the keys Ctrl + C and Ctrl + V, the new object is not part of the drawing group. The same applies to duplicating using the keys Ctrl + D.
Copying the entire drawing group: When copying an entire drawing group, the same actions apply as when copying objects. You can copy using the mouse or keyboard.
See also: Copying objects